Blue stained wood with crimson carnations

Showing posts with label recipe. Show all posts

Friday, November 28, 2014

Foodie Friday: Cranberry Ginger Upside-Down Cake

It has been a seriously long time since I posted any thing up here for a 'Foodie Friday' and this week I  thought that the turning of the seasons and all the upcoming Christmas preparations would be the perfect time to change all that!

If cranberries are something that are relegated to your Thanksgiving table then its time to change that too! Bring the Cranberries to the front and center of your holiday dessert table with this delicious Cranberry Ginger Upside-Down Cake!


One of my favorite fruits are cranberries so I was really excited to find and get to try this recipe. I was happy to find this recipe really works- the cake is dense and moist with a tender crumb, the top layer of cranberries is bright and flavorful without being overpowering or soggy, and the cranberry jam that sandwiches in between the layers is sticky and sweet and richly red- the whole thing just begs to be eaten! Top it off with a dollop of freshly whipped ginger cream and you have a sure winner!

This recipe was originally found over on Food52's blog but I thought the instructions were very poorly written and confusing so I will be sharing my rewritten version here instead. I hope you enjoy both the process and the final product as much as me and my family did!


Cranberry Ginger Upside-Down Cake


For the jam filling

1 cup cranberries
3/4 cup sugar
1/2 cup water
2 T. fresh grated ginger
1/2 cup raspberry jam or preserves

In a small heavy bottomed saucepan combine all the ingredients
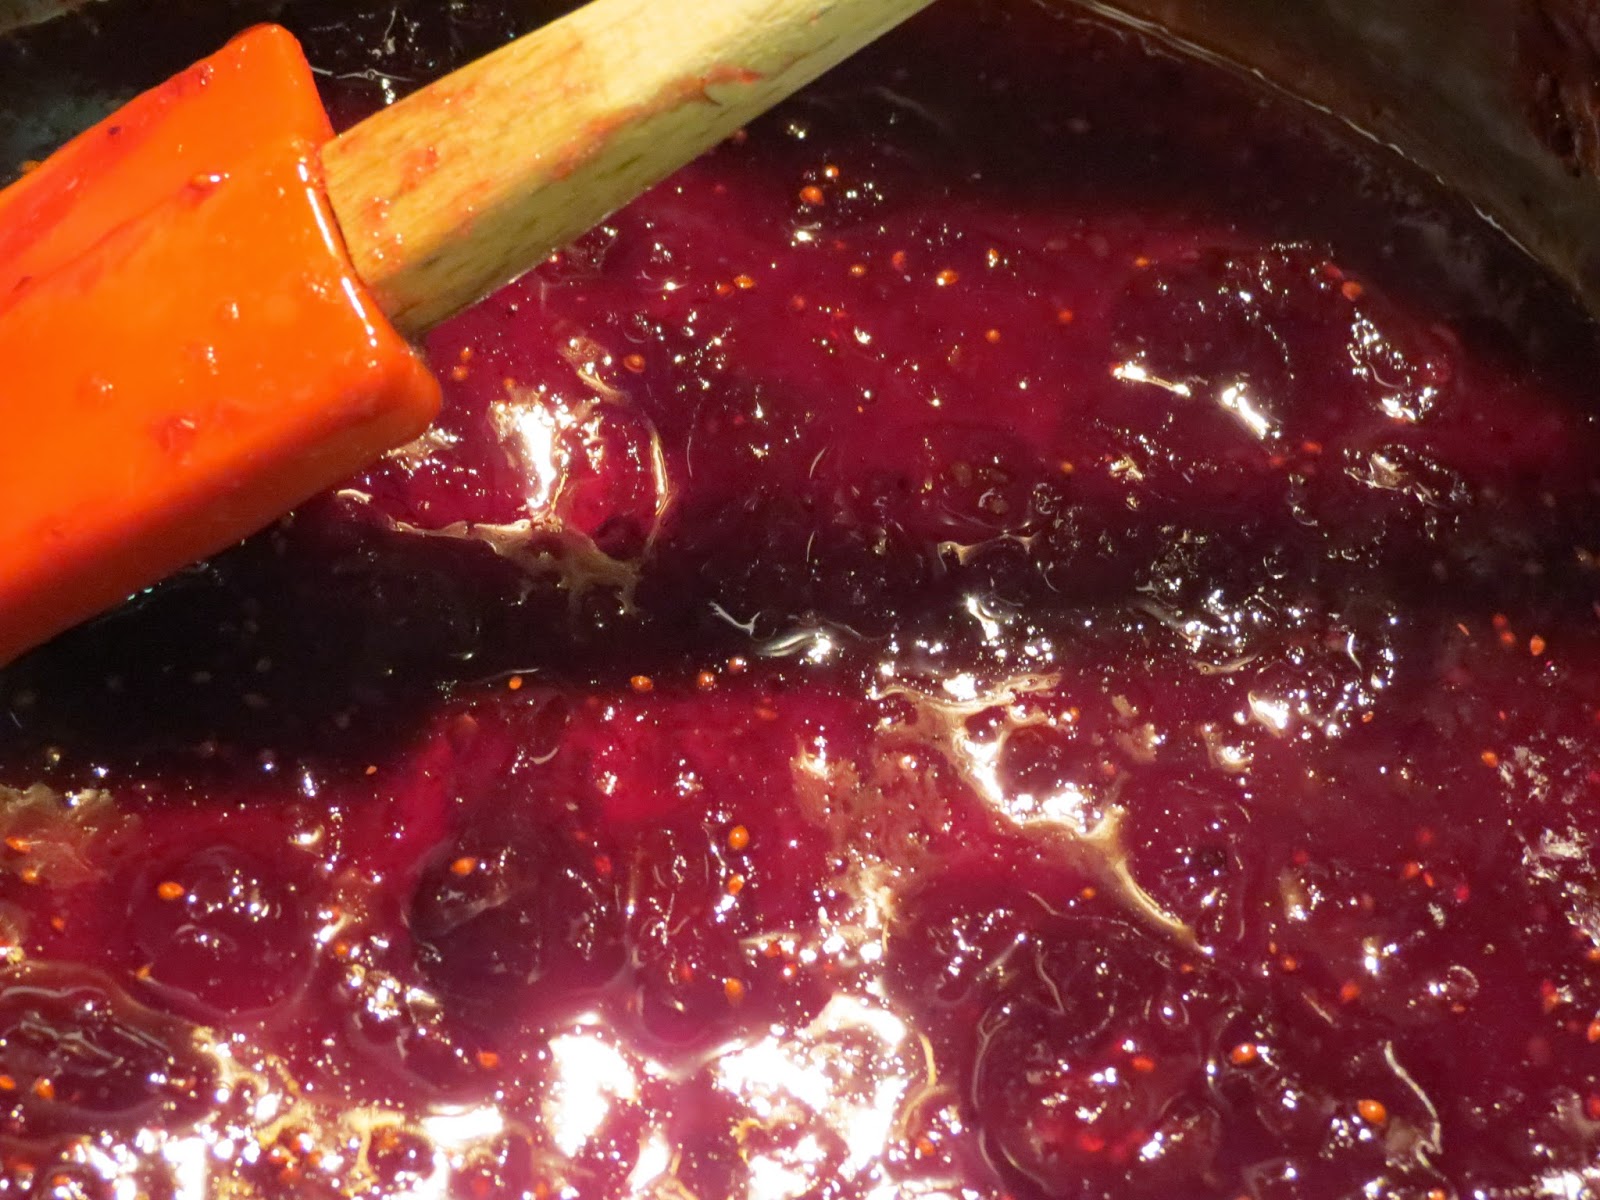
and bring to a boil over medium heat. Stir frequently. When mixture boils the berries will begin to pop their skins, and the mixture will gradually thicken. Once the berries are all fairly mashed and the mixture is thick remove from the heat and add the raspberry jam. Stir to combine and set aside in the fridge for later.


For the cake

2 cups AP flour (all-purpose)
2 tsp. baking powder
2 tsp. cinnamon
1/2 tsp salt

6 T. sugar
6 T. water
2 cups cranberries, fresh or frozen
1/4 cup toasted chopped hazelnuts
3 T. candied ginger, chopped fine

1 cup butter, soft
3/4 cup brown sugar
4 eggs
2 tsp. pure vanilla
2/3 cup whole milk

Preheat the oven to 350 degrees F. Grease (with crisco) and flour two 9 inch round baking tins and set aside.
In a medium bowl whisk together the flour, baking powder, cinnamon and salt and set to the side.

Combine the 6 tablespoons each of sugar and water in a small saucepan and bring to a boil stirring constantly. When the mixture boils remove it from the heat and pour it evenly over the bottom of one of the prepared cake pans being careful not to touch the hot mixture and to spread it all the way to the edges. Sprinkle the sugar syrup evenly with the cranberries, then the nuts and ginger and smooth as necessary. Set aside.

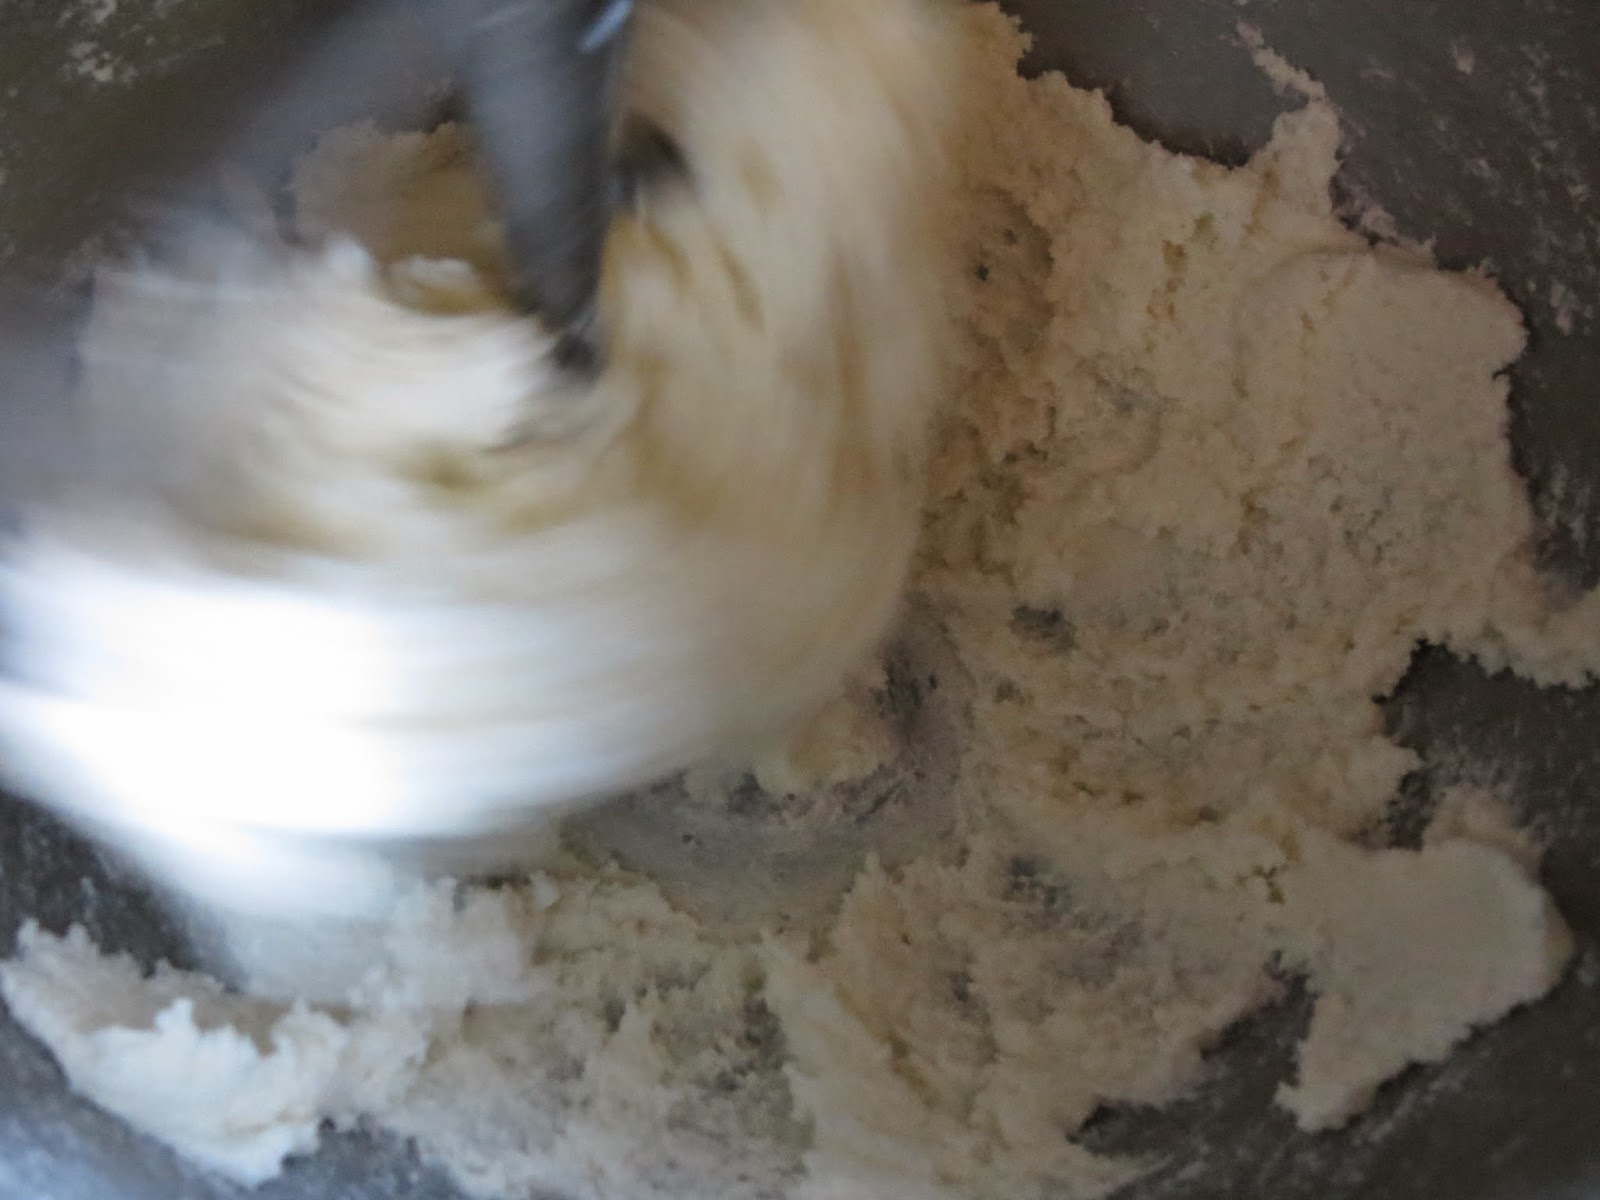
In a stand mixer or with a hand beater mix the 1 cup of butter with the brown sugar. Beat this on medium speed for 3 minutes, the mixture will be light and creamy. Add the eggs one at a time, beating for one minute after each addition and scraping down the bowl as needed. Beat in the vanilla.
Reduce speed and add 1/2 of the dry ingredients mixing until just combined. Add the milk and beat till combined and then add the rest of the dry ingredients and mix till just combined. The batter will be thick.

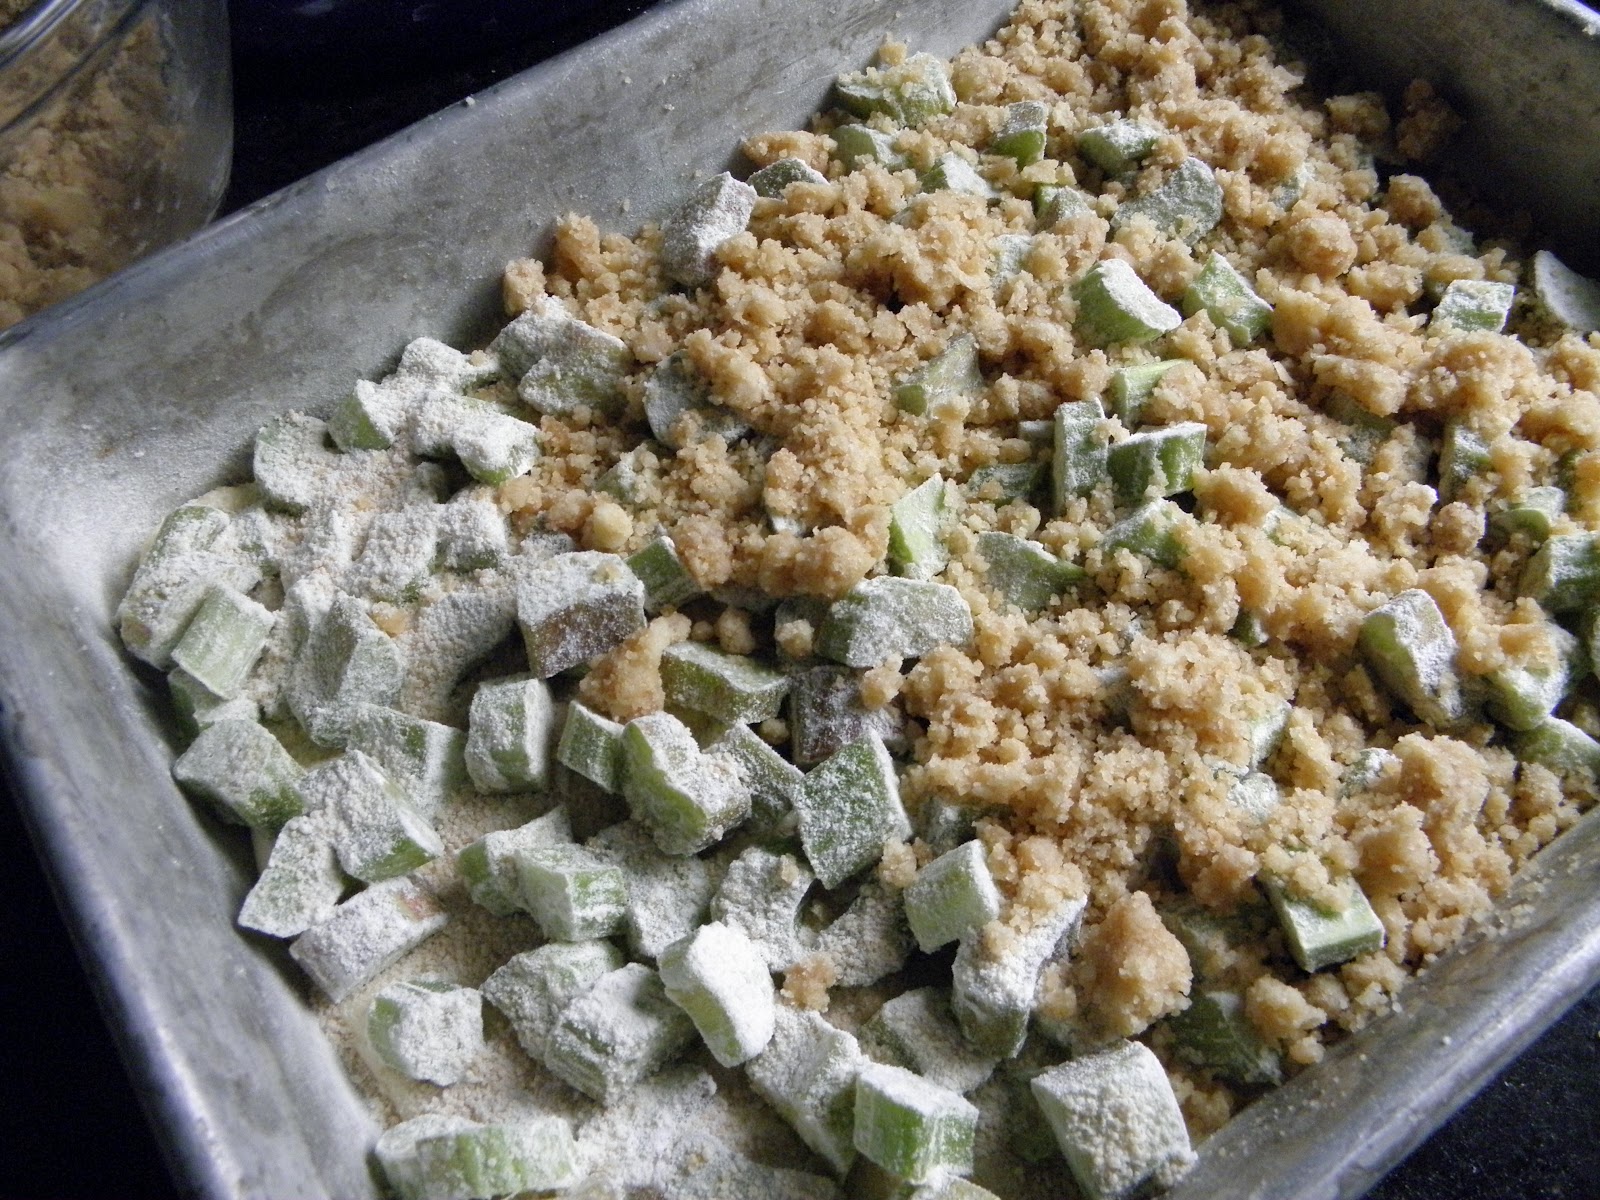
Spoon about half of the cake batter over the top of the prepared cranberries and nuts pan and half into the second plain cake pan. The pan with the cranberries will take a bit less  batter as it has fruit in it already, just add this to the other pan, they don't have to be exactly even. Smooth the tops with a spatula and then give the pans a firm couple of taps on the counter top to settle the batter down into the pans.


Bake for 40 minutes carefully rotating the pans halfway through so they bake evenly. Cakes are done when a toothpick inserted into the center comes out clean, (remember though that the cranberry pan will be wetter so test the plain cake first). When the cakes come out of the oven, use a blunt knife to loosen the sides of both cakes. Cool in the pans on a wire rack for 10 minutes. After that time loosen the cakes again and turn out the plain cake onto the cooling rack. Invert the cranberry cake onto a plate and leave the pan in place for another 10 minutes before removing.  Cool both cakes to room temperature.

Assemble the cake by arranging the plain cake on a cake plate. Cover well with the cranberry-raspberry jam pushing it just to the edges (there should be a bit of jam leftover). With both hands, or two large spatulas carefully lift the cranberry cake off of its plate and on to the top of the jam layer with the cranberries facing up.


For the ginger cream

1 cup heavy whipping cream
1/4 cup powdered sugar
1/4 tsp. pure vanilla
1/2 tsp. powdered ginger

Combine the cream, powdered sugar, vanilla, and ginger in a mixing bowl and whip for 3-4 minutes until medium peaks form. Taste and check the strength of the ginger- add more to suit your tastes. Serve dollops of cream with slices of the cake.

Enjoy!


Tuesday, September 23, 2014

Book Review: Kitchen Confidence

Well thanks to the recent expansion of titles available through the Blogging for Books program I am now about to review (amongst other things) - cookbooks!!! Those of you who know me probably have an idea of the extent of ecstasies that I went into upon hearing this news- and for those of you who don't- prepare yourselves. :)

I am thrilled to be reviewing Kelsey Nixon's "Kitchen Confidence"! I have had my eye on Kelsey for a
number of years now, since her debut into the food TV realm as a contestant on Food Network's "Next Food Star" program. She stood out to me then as a recent culinary grad myself and for her infectious bubbly personality as well as eager passion and desire to teach. As the years went by I was pleased to see her turn up on the Cooking Channel with her own show and have been pleased to sit down and learn with Kelsey whenever I'm able!

I love happy books. I love happy cookbooks too. "Kitchen Confidence" definitely qualifies as a happy cookbook! As the reader first picks up the book they are greeted with a bright and punchy cover full of modern colors and eye catching graphics. Delving into to the book you will find a well ordered and graphically pleasing layout. The book is divided into recipe categories that range from 'Breakfast & Morning Treats', to 'Sandwiches & Soups', to 'Desserts & Sweets'- and offers everything in between too! Each chapter begins with a clear list of the recipes in that section and each recipe title is well highlighted with bold text at the top of every page.

As I read I enjoyed especially the sporadic technique blocks and sections that explained the way something was to be done or the why behind a particular instruction. I also think it is essential in every cookbook that the author includes 'cooks notes' at the beginning of a recipe. Kelsey's book lives up to that expectation and provides a wonderful insight to a recipe's history, usage, and/or possibilities! All of the book is written in a friendly 'over your shoulder' directional style and showcases Kelsey's warm and encouraging style well. This book is well suited to be used by a beginning cook looking to expand their skills, and by an experienced cook who desires to produce well flavored and executed home staples.

One side note that I feel the need to report however is that the cover of the book is not particularly well made. When I received my copy there was already a small tear in the top filmy layer of the cover which had a small section pealing back. In the weeks since I have had this book and been handling it frequently I have noticed that the top corner and side edge of this filmy layer (upon which the cover image is printed on) is also pealing. I own a good many cookbooks and never remember one of my volumes coming apart in this way! To stop the damage I am going to need to cover the edges with heavy duty packing tape or library binding of some sort and I'm really terribly disappointed that my cover is to be marred in this way so shortly after receiving it!

The only other complaint I have about this book is that content wise while there are a good many photos there is not a photo for every recipe. For me this is essential in any modern cookbook and I'm a bit puzzled as to why they were left out. Even if covered as multiple images on a single page this would still give the reader and cook a good idea as to how the recipe is to turn out- and give them incentive for making it in the first place!

As to the actual recipes: I have tried one so far and found it to be excellent! You can find a step by step walk through to the "Grandma's Banana-Nut Sheet Cake" on my blog along with further notes on how the recipes preformed. Suffice to say though I was very pleased and enjoyed the results! I have flagged up my book with mini post-it's and I am really looking forward to making more of these tempting and delicious recipes in the future!


Final Rating: 4.5

I received this book from the publisher in exchange for an honest review and opinion of the product.


Foodie Friday: "Grandma's Banana Cake"

Recently one of my blogging programs opened up their selection of books available for review. This little development has thrilled me no end because I'm now able to review (drumroll please...) COOKBOOKS! 
Watch out world, here I come! 

LOL! Well maybe not the whole world...maybe just my little corner of the universe! ;) 

My first cookbook review will be up in a jiffy but before I post it I wanted to kick things off by sharing one of the recipes from the book! This recipe from Kelsey Nixon's "Kitchen Confidence" was really the perfect place to start!

"Grandma's Banana Cake" by: Kelsey Nixon

1 cup unsalted butter, at room temperature
2 cups sugar
4 large eggs, at room temperature
2 teaspoons fresh lemon juice
2 ripe medium bananas, mashed
1 cup whole milk
3 cups all-purpose flour
1 teaspoon baking soda
1 teaspoon kosher salt

1) For the banana cake: Preheat the oven to 350 degrees F. Butter and flour a 10.5 x 15.5 inch jelly roll pan.
2) Using an electric mixer, cream together the butter and sugar on medium speed, until pale yellow and fluffy, about 3 minutes. Mix in eggs, on at a time, followed by the lemon juice, mashed bananas, and milk.
3) In a separate bowl, whisk together the flour baking soda, and salt, Slowly beat the flour mixture into the banana mixture, then beat on medium speed for 2 minutes. Spread the batter evenly in the prepared pan. 
4) Bake until a cake tester inserted into the cake comes out clean. 25-30 minutes. Let cool.

1/4 cup unsalted butter, at room temperature
1 ripe medium banana, mashed
2 teaspoons vanilla extract
4 cups powdered sugar
1/2 teaspoon kosher salt
1 cup chopped toasted walnuts

5) For the icing: Using an electric mixer, combine the butter, banana, vanilla, powdered sugar, and salt and beat until smooth. If the icing is too thick, add a teaspoon or two of milk.
6) Frost the cake with the icing and sprinkle the top with the walnuts. Store the cake, covered tightly with plastic wrap, at room temperature for up to 2 days.


My thoughts on the recipe and cake:

I am really pleased at how easy this recipe was to put together, how well it baked up and how yummy it turned out! Even with photoing my steps I think that I maybe spent an hour on it?? It wasn't long and it really was a simple old-fashioned recipe. I like that the bananas were used in both the cake and the frosting- it brings up the banana flavor nicely. The cake itself I really can't say enough about! It is light with an excellent crumb, and it has such a rich butter flavor and buttery mouth-feel that I felt like I was eating an oil based cake recipe with it's super moistness! I used salted butter and still added the salt in both portions of the recipe and like it that way. The added salt level is negligible and in the case of the frosting is actually a better contrast to the banana and cuts the super-sugary 'belch' many icing style frosting's can give. As my family doesn't like walnuts and particularly wouldn't like nuts on a cake like this I omitted them. 

All in all, this is the cake your grandmother used to make- and it's perfect for a crowd, be it a family gathering or a church social! I highly recommend you make it- and enjoy it! 


Friday, April 18, 2014

Book Preview: And now, for a recipe...

Well here I am again with a posting about the new novel from Tamera Alexander, "A Beauty So Rare"! This week I have dug into the book and I'm about three-quarters of the way through it- and finding my mouth watering at every turn!

One of the star attractions in the book is the 'savory custard' that's enjoyed at several points in the book. Now, I'm sure you are saying "what's a 'savory custard'"? And that my friend is a good question!
This book is set in the post Civil War era and located in the heart of it all, Nashville. During that time period pies of every description would have been whipped up with ease once- or perhaps several times a week! I mean really, who doesn't love pie? :) This 'savory custard' pie is really a cousin of what we might better know as the French favorite- quiche. Long way to travel from Nashville to Paris huh? Well never fear the recipe has traveled well and is ready to be enjoyed by one and all!

Take a look at the recipe (under the 'read more' link below) and print it today and serve yourself up a slice of history- and deliciousness!  I know I can't wait to myself!


Friday, February 8, 2013

Impromptu Foodie Friday: Guacamole

Tonight I made Mexican for dinner and included a batch of guacamole to go along with the delish new Tostedos 'Cantina' chips that I picked up the other week. The guac turned out great and I was immediately sorry that I hadn't thought to photo the recipe as I was throwing it together so I could put it up here on the blog! Despite my lack of forethought I snapped a few shots of the final product and thought I'd go ahead and post the recipe anyway!


Guacamole
5 ripe avocados
2 T. sweet onion, finely minced (or grated)
2/3 cup plain yogurt
2/3 cup sour cream
1 tsp. kosher salt
1 1/2 tsp ground cumin
1/2 tsp granulated garlic (you could use 1 fresh clove, minced)
1 tsp. Frank's Red Hot Sauce

1/2 lime, squeezed (opt.)
1 tomato, seeded and diced fine (opt.)

Cut open the avocados and scoop the flesh into a mixing bowl. Mash the avocados with a potato masher until the consistency is part smooth and part chunks. Add all the remaining ingredients and give it all a good stir to combine everything.

Note about the optional ingredients: I listed these ingredients as optional because I did not put them in tonight's guac- if I had remembered that I did indeed have lime in my fridge I would have added it as it brings a nice back up singer to the party! ;) The tomatoes can be added if that is your taste- but for me I like my guacamole straight up without any goofy stuff. If you like your with- more power to ya!

Serve with tortilla chips or use as a spread on sandwiches or burgers! (Yum-o!)
To store, transfer to an airtight container and cover with a sheet of plastic wrap directly on the surface of the guac to keep it from the air, cover with lid. This guacamole will not get brown as quickly as some others and can sit open for some time during service.

Yield: 3 cups+, easy!

Eat Well!


Saturday, September 8, 2012

Foodie Friday: Iced Caramel Coffee

And we're back!

Long time no recipe huh? Well, this week I have a cool (haha) recipe that hopefully will hit the spot! I've never been one who liked- much less loved- coffee but when I was in Culinary I started drinking Strabucks Frapps as it was my sole means of caffination! ;) Since my Culinary days I've been an occasional coffee sipper and have grown to the point of enjoying a cup- hot or cold- under the right coffee-to-additions circumstances! I have also become totally converted to Dunkin Donuts coffee- a phenomena that does (believe it or not) predate my sister working there... 
Speaking of, now would be the time to let a bit of a cat out of the bag *ahem* - Unless you buy Dunkin coffee at Dunkin it's not real Dunkin. That's right that stuff in the orange bags on the grocery store shelves is not real Dunkin coffee- it's Folger's.
So- buy the good stuff and make your taste buds happy!

Without further ado...


Iced Caramel Coffee 

8 cups cold water
1/2 cup ground Dunkin Donuts original coffee
1 cup + 3 T. sugar

Ice
2 tsp. caramel sauce (I'm using Smuckers Plate Scrapers dessert sauce but you can use any ice cream topping sauce, etc.)
Cream, to taste (I've used about 1 T. per glass) 


Begin by setting up the coffee maker with the ground coffee in the brew basket and the water in the reservoir. Brew the coffee to your taste and your coffee makers instructions.

(For me I brew on the strong setting and then fill the reservoir with the brewed coffee and run it through again. This is just because the coffee maker in question is not mine and simply does not heat the water hot enough to produce a decent cup. By the time its gone through twice I'm in business! This step is of course not needed if you have a good coffee maker ;) )


While the coffee is brewing add the sugar to a sealable pitcher. I use Lock & Lock because it's awesome and airtight!  Once the coffee is brewed add it to the pitcher and stir to dissolve the sugar- this will only take a minute because the coffee should be piping hot! 

From here you have two choices- the wise thing to do would be to stash the hot coffee in the fridge and chill it down- but you may be impatient like me and be dying for your cafination- so let's charge ahead!!

Get yourself a nice glass (because a nice glass always makes a happier drink!) and fill it up all the way with ice cubes. I'm a firm believer the secret to a good iced coffee is getting it as cold as possible- and that means as much ice as possible! Add the caramel sauce on top. Now if you are not a caramel person and you want you can certainly change it up here and add your favorite flavored coffee syrup or a shot of chocolate syrup- go for it and make it your own! 


Add the coffee and then top it off with a bit of cream. (Right here it looks like a ton of cream but it just spread out a lot in the coffee!) Give it a stir and pop in a jaunty straw and you're ready to go!  Stash the rest of the cold coffee back in the fridge and use it for drinks throughout the week- it should keep about that long and make about another 6 drinks depending on how big a glass you use and how much ice you use!  

Eat Well!


Friday, August 3, 2012

Foodie Friday: Parmesan Penne

This week's recipe is a quick and easy two pot pasta dish that is suitable for everynight dinners or the bit more special occasion!
It uses a combo of my mom's easy Alfredo sauce and my love of all shapes pasta. (Even though I have used penne here you could use bowties or medium shells or any type of pasta that would hold sauce.) Though based on a really a tried and true classic Italian pasta it has just a bit of French influences in the flavor profile through the addition of peas and just a bit of a special and secret ingredient- nutmeg!


Parmesan Penne

1# penne pasta

1 T. olive oil
1# chicken breast, diced
1/2 c. butter
3/4 c. Parmesan cheese, grated
1 clove garlic, crushed and pealed
1c. cream
1/2 tsp. kosher salt
1/4 tsp. pepper
4-5 grates of fresh nutmeg (approx. 1/4 tsp.)
3/4 c. frozen peas


In a large pot or pasta pot bring a gallon of water to a boil. Salt the water well (about 1-1 1/2 T. salt for every gallon of water) as this is the only opportunity you have to season the pasta.


In a large skillet heat the olive oil briefly over high. Add the chicken, turning and browning until all pieces are cooked through.  Lower the heat to medium and add the butter, in chunks and the crushed garlic and slowly saute for about five minutes allowing the garlic to infuse and the butter to melt into the chicken.


Add the cream, Parmesan, salt, pepper, nutmeg and peas. Stir everything together and simmer on low heat. At this point drop the pasta and cook it until al dente.
When the pasta is done return it to the pot and carefully add the skillet of sauce over the top. Stir to combine and then cover the pot and allow it to sit for 3-4 minutes so the pasta soaks in the sauce.


Serve with a green salad and crusty bread with butter. (Mmm!)


Eat Well!   


Friday, July 27, 2012

Foodie Friday: Rhubarb Crumb Cake Bars

Here we are a week later and I do indeed have another interesting recipe to share!
If your garden is anything like mine it's looking a bit over run with an abundance of rhubarb! Going out to the garden and picking some this afternoon I plucked away several dead and rotting bits that have perished in the extreme heat of the last few weeks and began puling fresh stems and trimming them as I went.


I guess I tugged a bit too much on this one because the whole cluster came away!


The recipe I picked to try this week is a recipe I originally found from Martha Stewart  but it looked like it needed a bit tweaking and there's nothing I love better than a good recipe mystery! The original is here and my rewritten version is below!


Rhubarb Crumb Cake Bars


Streusel
6 T. butter, melted
1 c. AP flour
1/2 c. light brown sugar
1/4 tsp. salt

Cake
1# rhubarb, cut into 1/2 inch chunks
1 T. light brown sugar
1/4 AP flour

3/4 c. AP flour
1/2 tsp. baking powder
1/4 tsp. salt

1/2 butter, room temperature
1 c. powdered sugar
2 eggs
1 tsp. vanilla

Preheat oven to 350 degrees. Spray and flour a 9x13 inch baking pan and set it aside.

Make the streusel by mixing the melted butter, flour, salt and brown sugar together with a fork until it is thoroughly blended. Set it aside for later.

Next, mix the rhubarb together with the 1T. of brown sugar and the 1/4 c. flour until all the pieces are coated in flour.

Tip: Coating fruit with flour before putting it into a cake or muffin batter does two things: it helps keep it suspended in the batter as it bakes so the fruit doesn't fall to the bottom of the batter and it helps to keep juicier fruit from bleeding all through the batter.

In a small bowl mix together the flour, salt and baking powder. Set it aside for later.


In the bowl of a stand mixer, or in a medium bowl with a hand mixer combine the butter and powdered sugar and beat until it becomes light in color and texture. Add the eggs, one at a time and vanilla and beat thoroughly. (In the first picture you will see the eggs may look a little funny- that is because when baking almost always the eggs and vanilla get added at the same point in the recipe so I just mix them together for expediencies sake!)  Add the prepared flour mixture and mix in.


Spread the batter in the prepared pan, this will take some patience as it will look like there is not enough batter but if you start with dollops in the corners and work to the center it should spread evenly. 

Sprinkle the batter with the prepared rhubarb.


Sprinkle the rhubarb with the prepared streusel. 

Bake the cake for 40-50 minutes until a toothpick poked in the center of the cake comes out just about clean. 


Allow the cake to cool and cut it into squares. Cutting the pan 4 x 5 gives you 20 2 inch squares. 


Eat Well!    


Friday, July 13, 2012

Foodie Friday's: Fusion Chicken Pitas

This week as I started to gather ingredients together to make one of my favorite marinades I had a thought. This thought poked me in the brain and asked me: Why don't you do a tutorial on this recipe for the blog?
Good question!
And so, I give you Foodie Friday's! Well, I give you Foodie Friday. If I am able to come up with something interesting and worthy of the world's approval and your tummies eating than I will, each week put one of these up! If I don't, I won't. :) But it should be interesting to see if I can make one interesting thing each week!

This week I would like to introduce you to Fusion Chicken Pita's. I am calling this recipe fusion because I simply can't decide if this leans more to the Mediterranean or to the Middle Eastern- and trust me I've been puzzling this over for quite a while now! If you are not familiar with the term fusion is a culinary term that is used to describe a blending of two cultures, or sometimes region's, cooking styles and ingredients. The result can be quite delish! The marinade for this chicken is yogurt based and has lemon, garlic, oregano and red pepper flakes which are all the flavors of Greece. However, this recipe also has a healthy helping of cumin- which along with the yogurt and garlic and lemon place its flavor profile firmly back in the Middle Eastern category! 

And thus you see my dilemma. 
And thus, Fusion Chicken was born.   

Now, enough of my talking- let's get down to the recipe!


Fusion Chicken Pitas

1 1/2 cups plain yogurt
1 lemon, juiced (1 1/2 T. bottled will do if you don't have fresh)
2 large cloves of garlic, finely minced
1 T. cumin
1/4 cup fresh oregano (or 1/2 T. dried)
1 tsp. red pepper flakes
1 tsp. salt (I use Kosher)
1/4 tsp. black pepper
3 to 5 boneless skinless chicken breasts

pitas
romaine or leaf lettuce
tomatoes, diced/sliced/wedged as you please (opt.)
cheese- feta would be good but any hard cheese grated- like brick or Jack would be fine too (I used colby as I had it on hand)
red onion, thin sliced (opt.)

1/2 cup sour cream
3/4 cup shredded English cucumber, pealed


Measure yogurt into a medium bowl.
Prep the fresh garlic.


Tip: The easiest way to do this is to place the clove on your cutting board and place your chef's knife over the clove and with a flat palm press your weight into it crushing it. This will allow you to easily remove the skin to discard it.
Repeat the same crushing action again a couple of times to break down the garlic; sprinkle a pinch or two of salt (Kosher) over the garlic and use its coarseness to grind the garlic into a paste scraping against the board and piling it up again as needed, at this point you can also run your blade through the paste several times slicing down any larger bits you find.


This should be the result:


Add the garlic and remaining ingredients to the yogurt and stir mixing everything thoroughly.

(I had to use dried oregano as the heat outside has fried my fresh garden stuff.)

Remove 1/4 cup and set aside in a larger sealable container for later. This will be the base for our dressing.


Split the chicken breasts lengthwise and add it to the marinade making sure to coat each piece well. Cover tightly or transfer to a ziplock bag and seal refrigerating 6 hours or overnight.

To make the dressing: Add the sour cream and cucumber to the reserved marinade and stir well before refrigerating. It is best to allow this to sit for an hour to combine the flavors before serving.


Grill the chicken to an internal temp of 165 degrees. If the chicken isn't quite done but the marinade is starting to burn take the chicken off and give it a quick minute in the microwave to bring it up to temp the rest of the way. Cool the chicken partially and place in the refrigerator to chill completely.

Cut the chicken in strips and set aside. Take the pitas and warm them on a low temp in the oven or toaster oven for a few minutes. (If you are using 'real' pitas you will want to cut the pitas in half to open up the pockets.) Stuff the pitas with lettuce and put a little of the dressing on top, add the cheese, tomatoes and onions (if you are using) and top with chicken strips and a little more dressing. 


Eat Well!